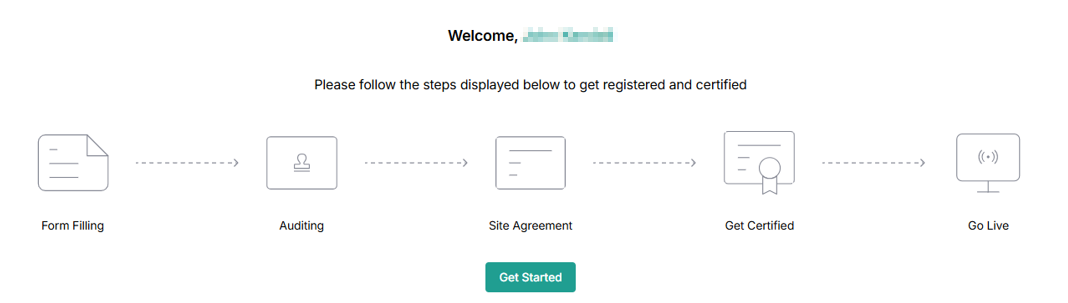
Onboarding Form
After signing up on the platform, complete the onboarding process for your test center certification. If you have multiple test centers, you can register them after completing registration with one test center. This process includes submitting the initial application, the audit process, the site agreement, getting certification, and going live.
After certification is completed, the test center can go live to perform operations.
Note:
- After the completion of onboarding the first test center multiple test centers can be onboarded.
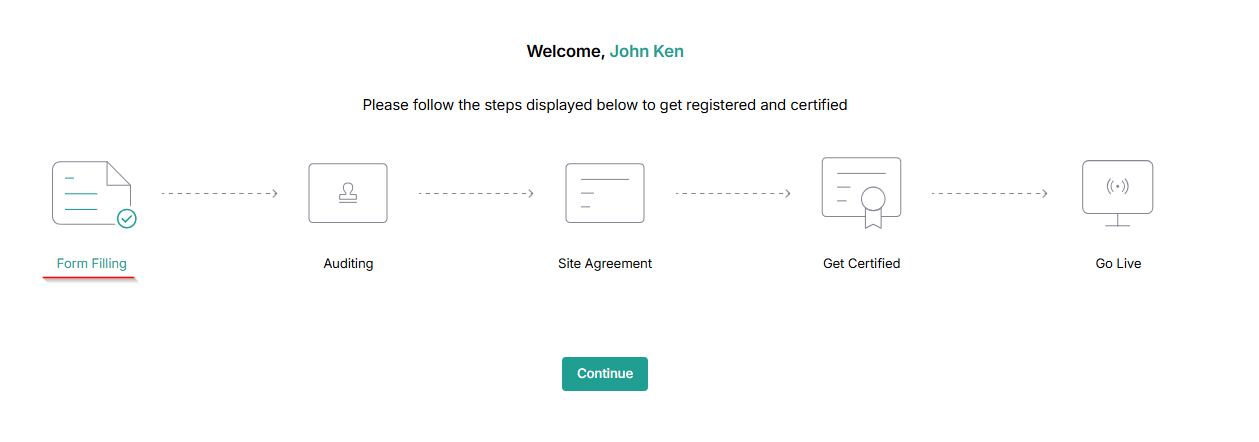
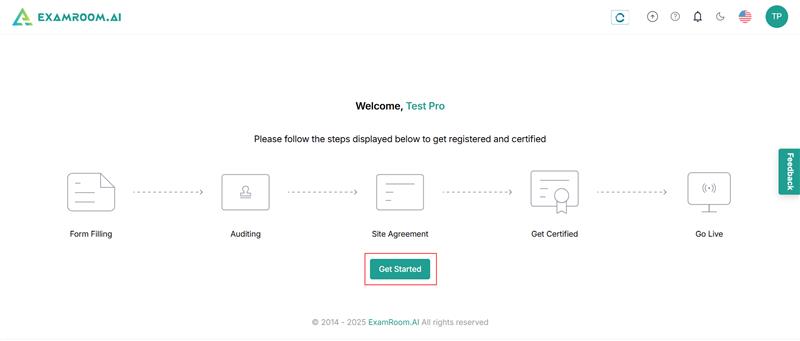
Form Filling
- Click Get Started to start the process of form filling in the onboarding dashboard to proceed.
- The Application form consists of 5 steps of information essential to perform smooth operations.

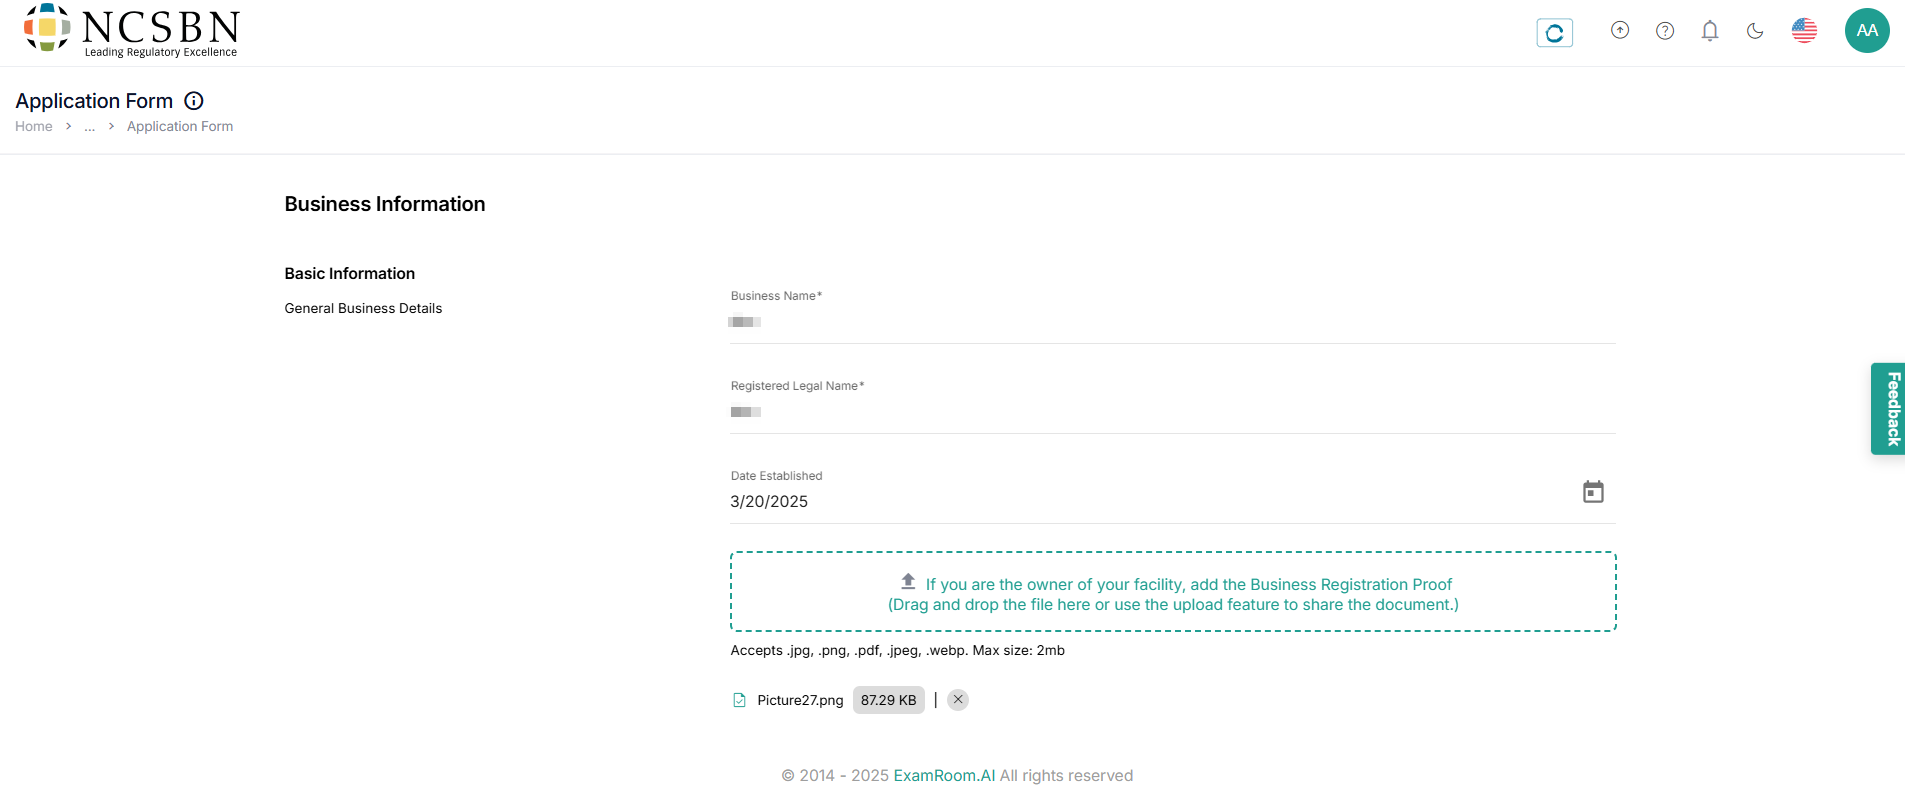
Site Information: Business Information
- The business information consists of all the basic information, address information, and contact information.
- In basic information, fill all the mandatory fields in the basic information like Business Name, and Registered Legal Name.
Note: If applicable, please upload Business Registration Proof with a maximum file size of 2 MB.
(Acceptable file types are .JPG, .PNG, .PDF, .JPEG, and .WEBP)
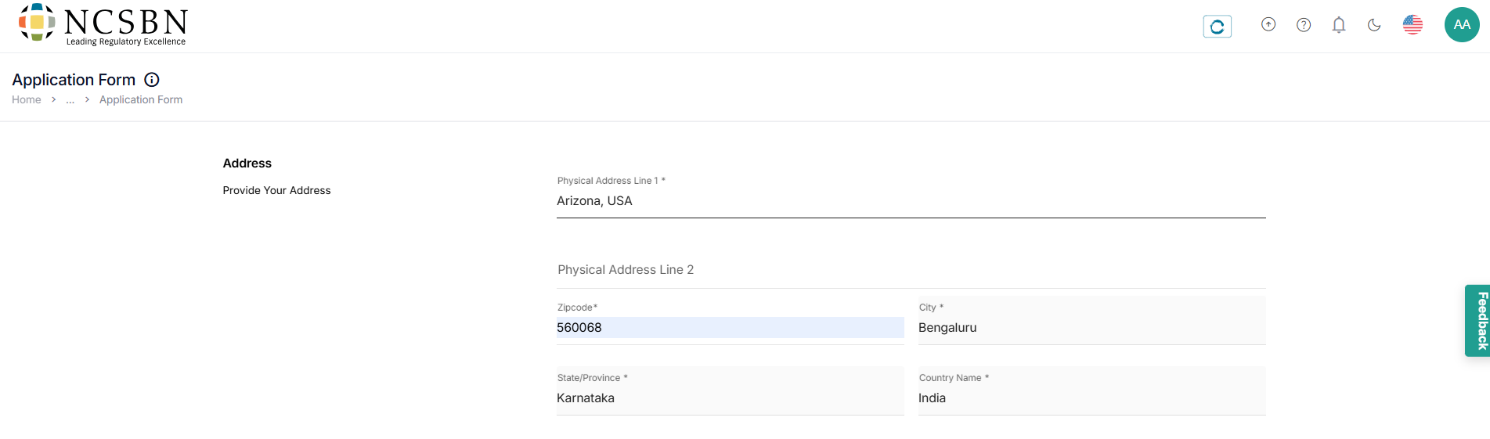
- In the address information, provide the address and choose the auto-populated address below.
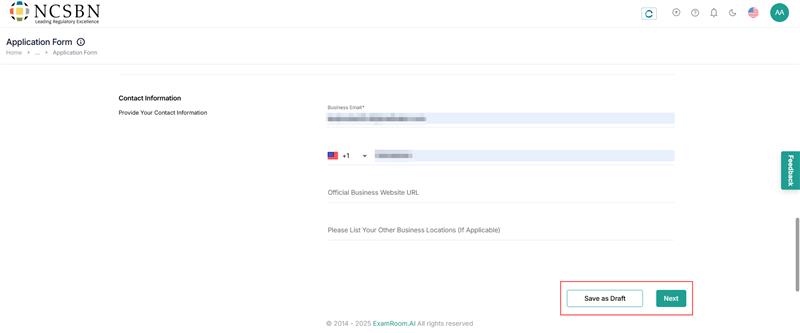
- In contact information, fill out the mandatory fields like business email and phone number.
Note: If applicable, please add the business URL and other location details - Click Next to proceed to basic information and Save as Draft to save the details.
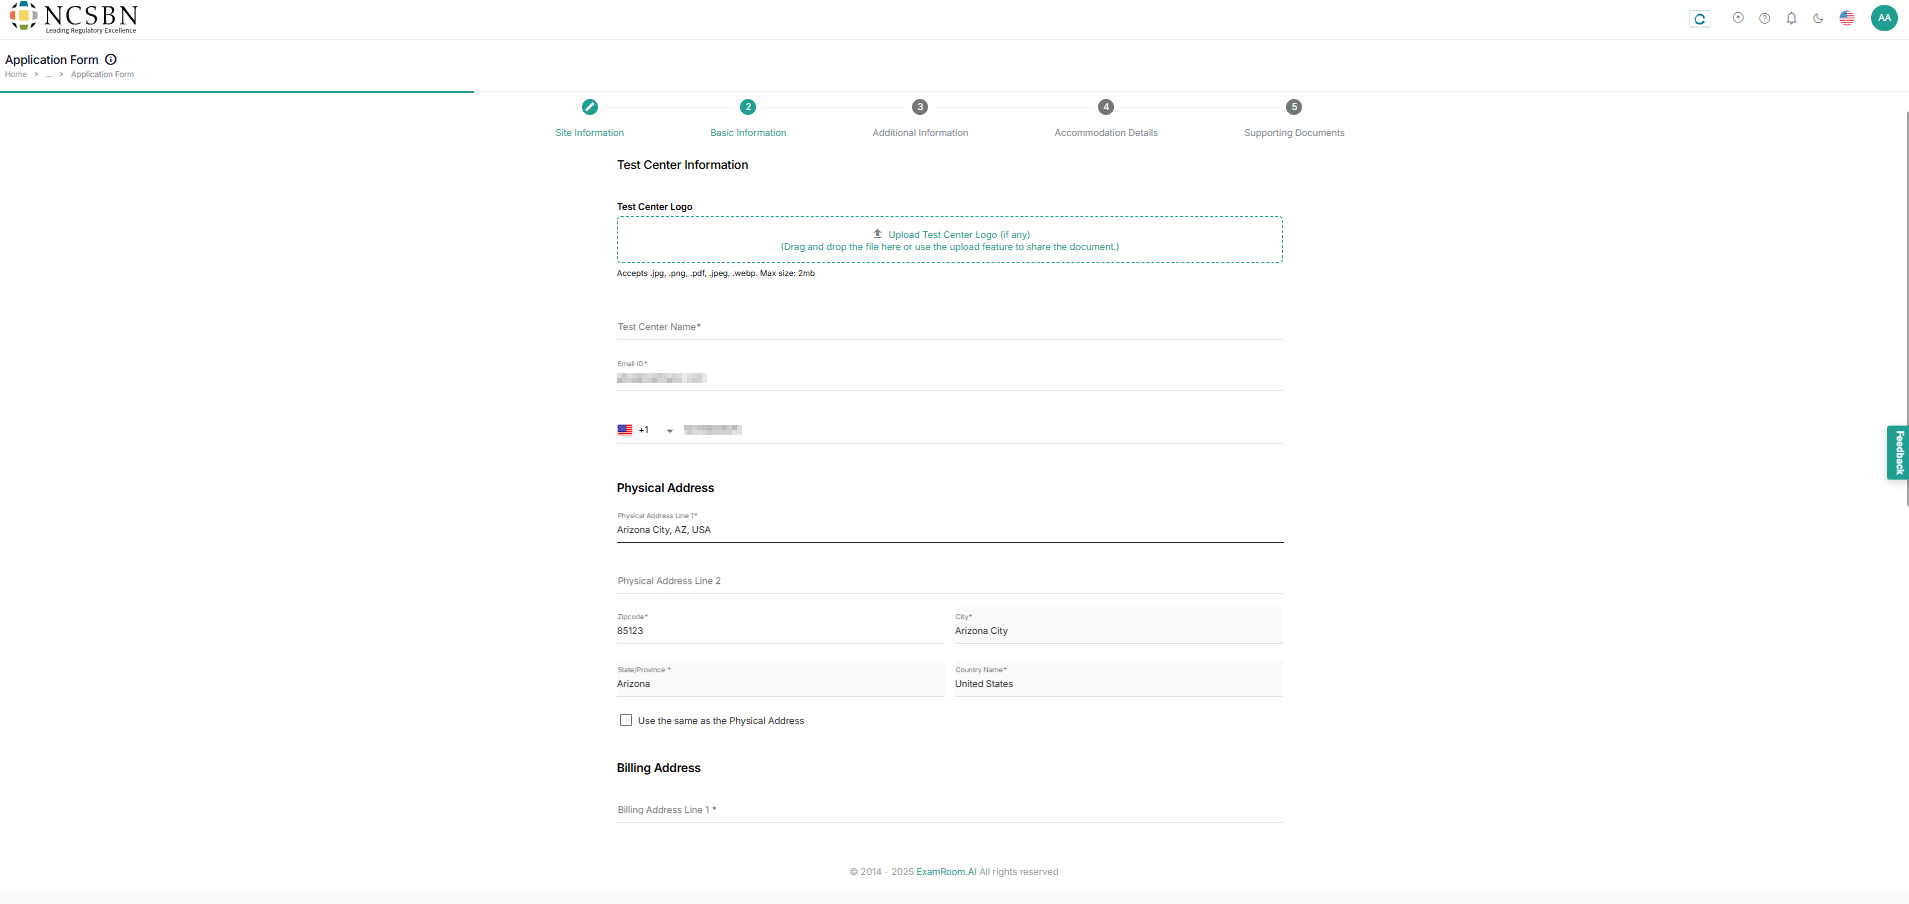
Basic Information: Test Center Information
- In basic information, the email, contact, and physical address information are automatically fetched from the previous form.
- Fill out the mandatory fields like the test center name and choose the billing address as per convenience.
Note: If applicable, please Upload Test Center Logo with a maximum file size of 2MB.
(Acceptable file types are .JPG, .PNG, .PDF, .JPEG, and .WEBP)
- After filling in all the details, click Next to proceed to Additional Information, Save as Draft to save the details, and Back to go back to site information.
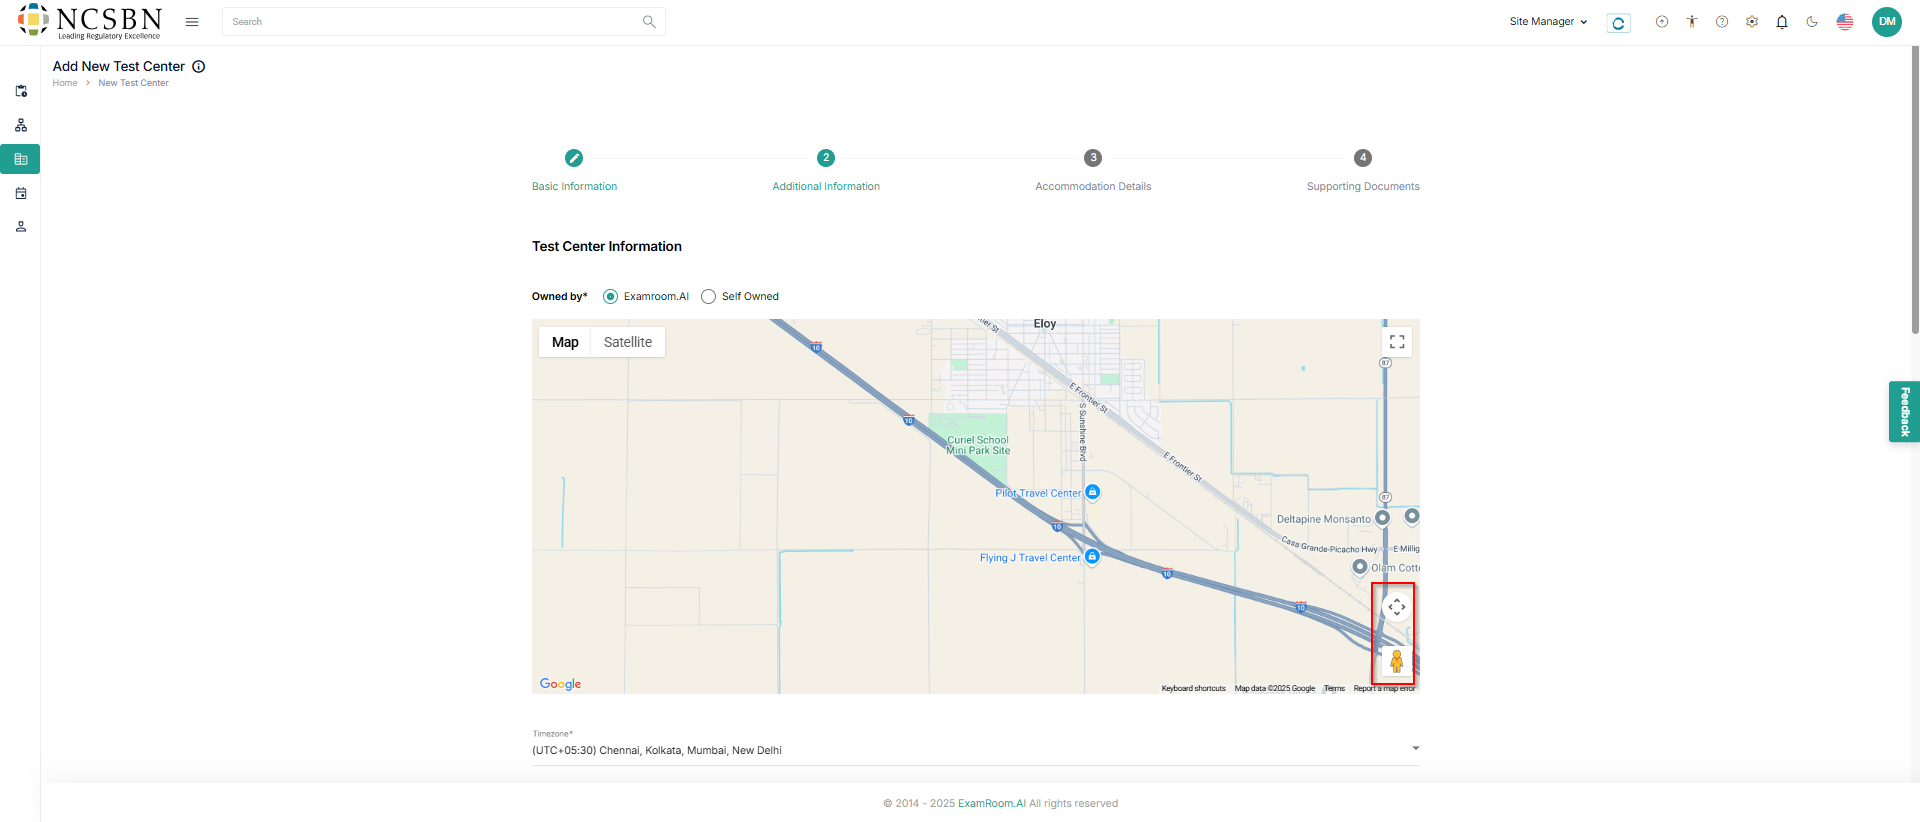
Additional Information: Test Center Information
- In Additional Information, check owned by, verify the precise test center location, timezone, and add test center availability and other information to proceed to the next step.
Note:- Use the pin
icon to pinpoint the exact test center location to help evaluators and candidates reach the test center.
- Use a Map or Satellite view at your convenience to locate the test center.
- Use the
icon to adjust the view of the map.
- Use Pegaman (
) for the street view in Satellite.
- Use the pin
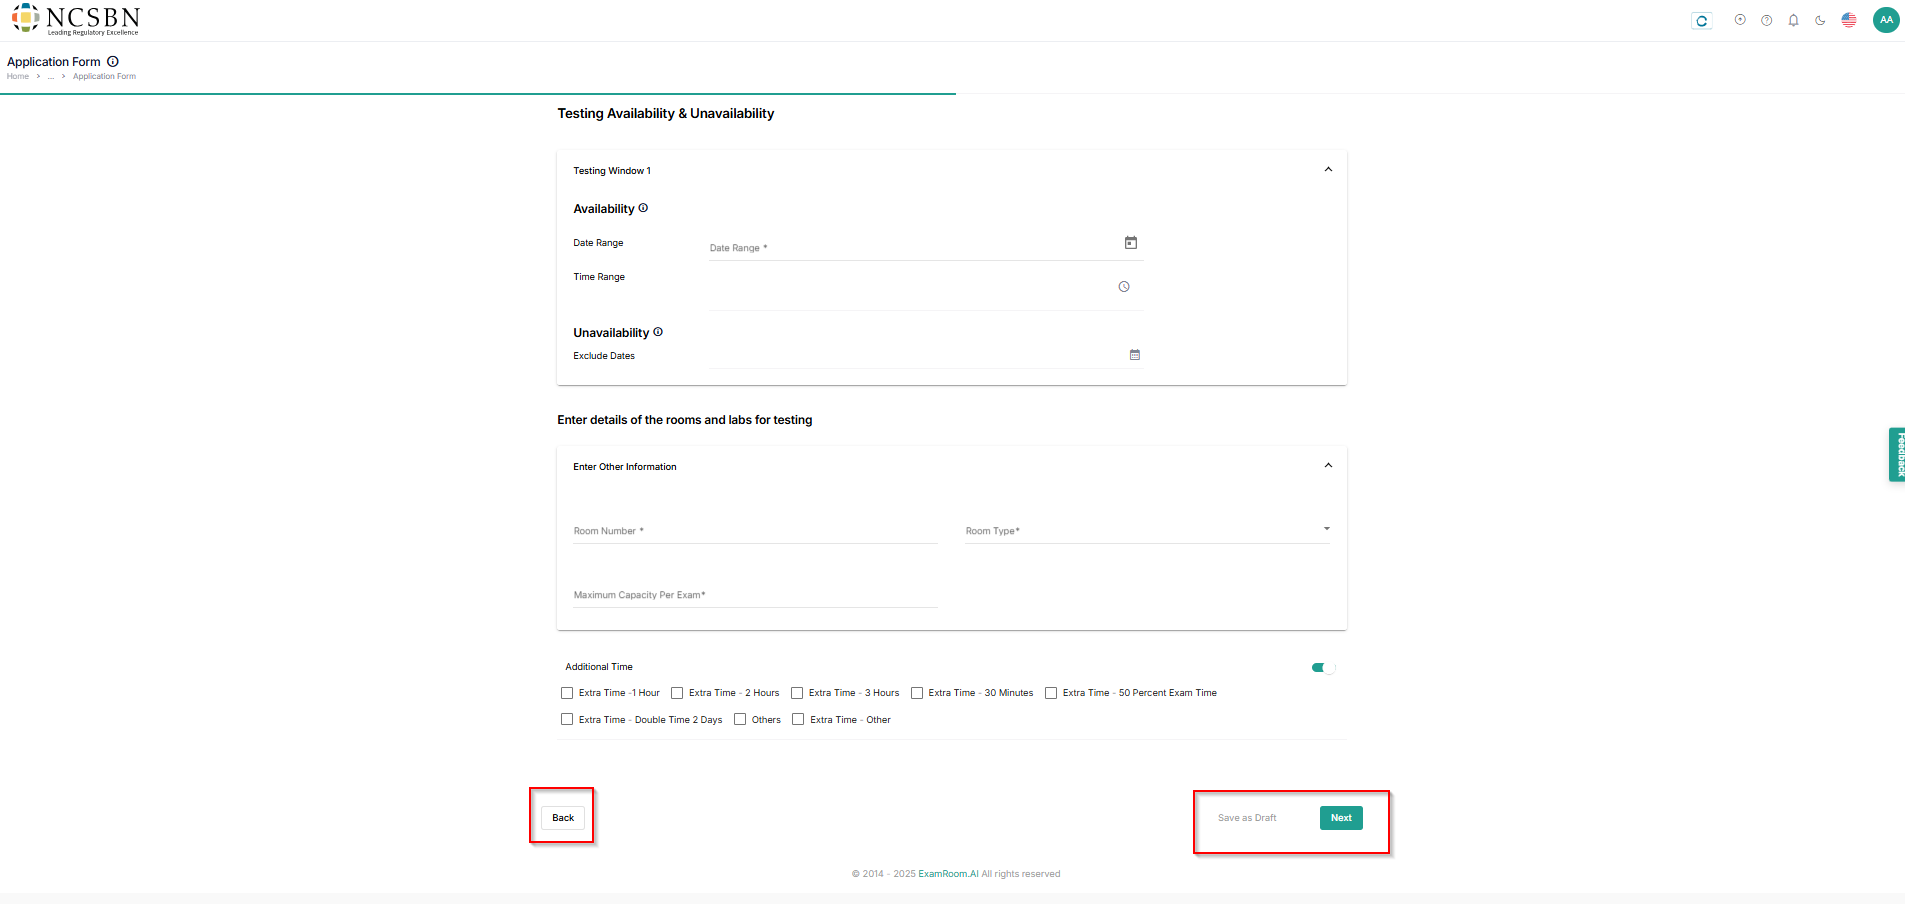
- In Testing Availability and Unavailability, fill out the availability and unavailability details.
- In the Enter details of the rooms and labs for testing, fill out the room details and choose any additional time if applicable.
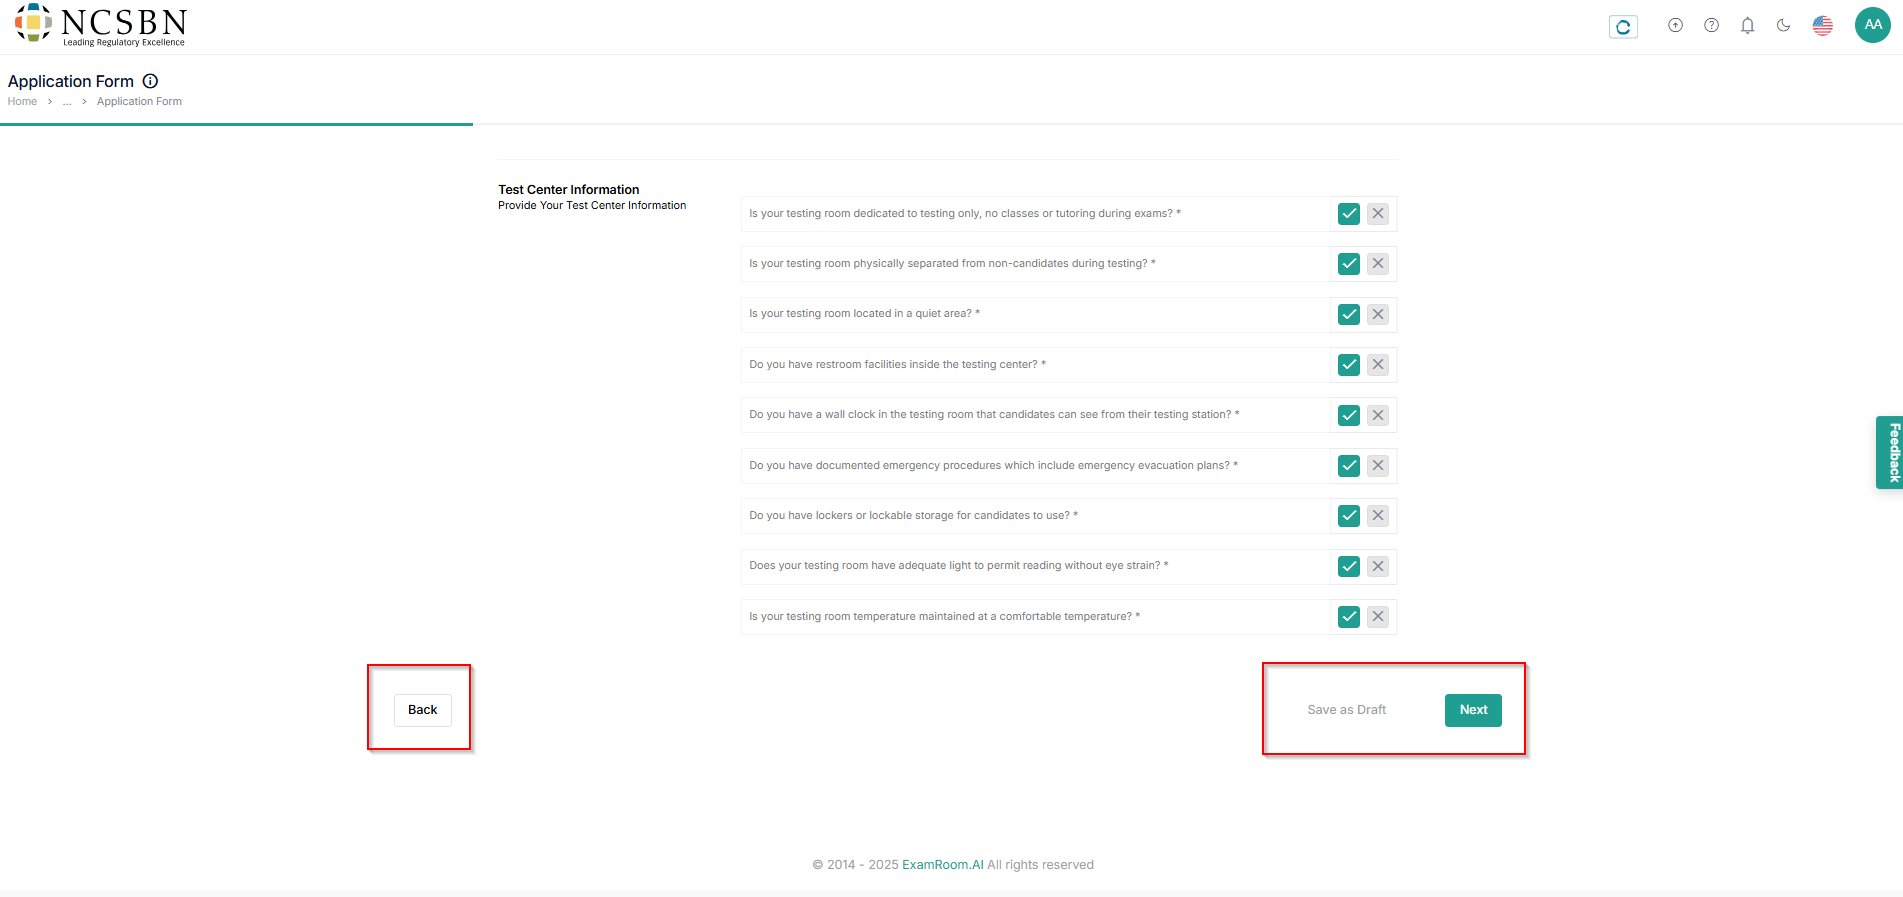
- After filling in all the details, click Next to proceed to accommodation details, Save as Draft to save the details, and Back to go back to basic information.
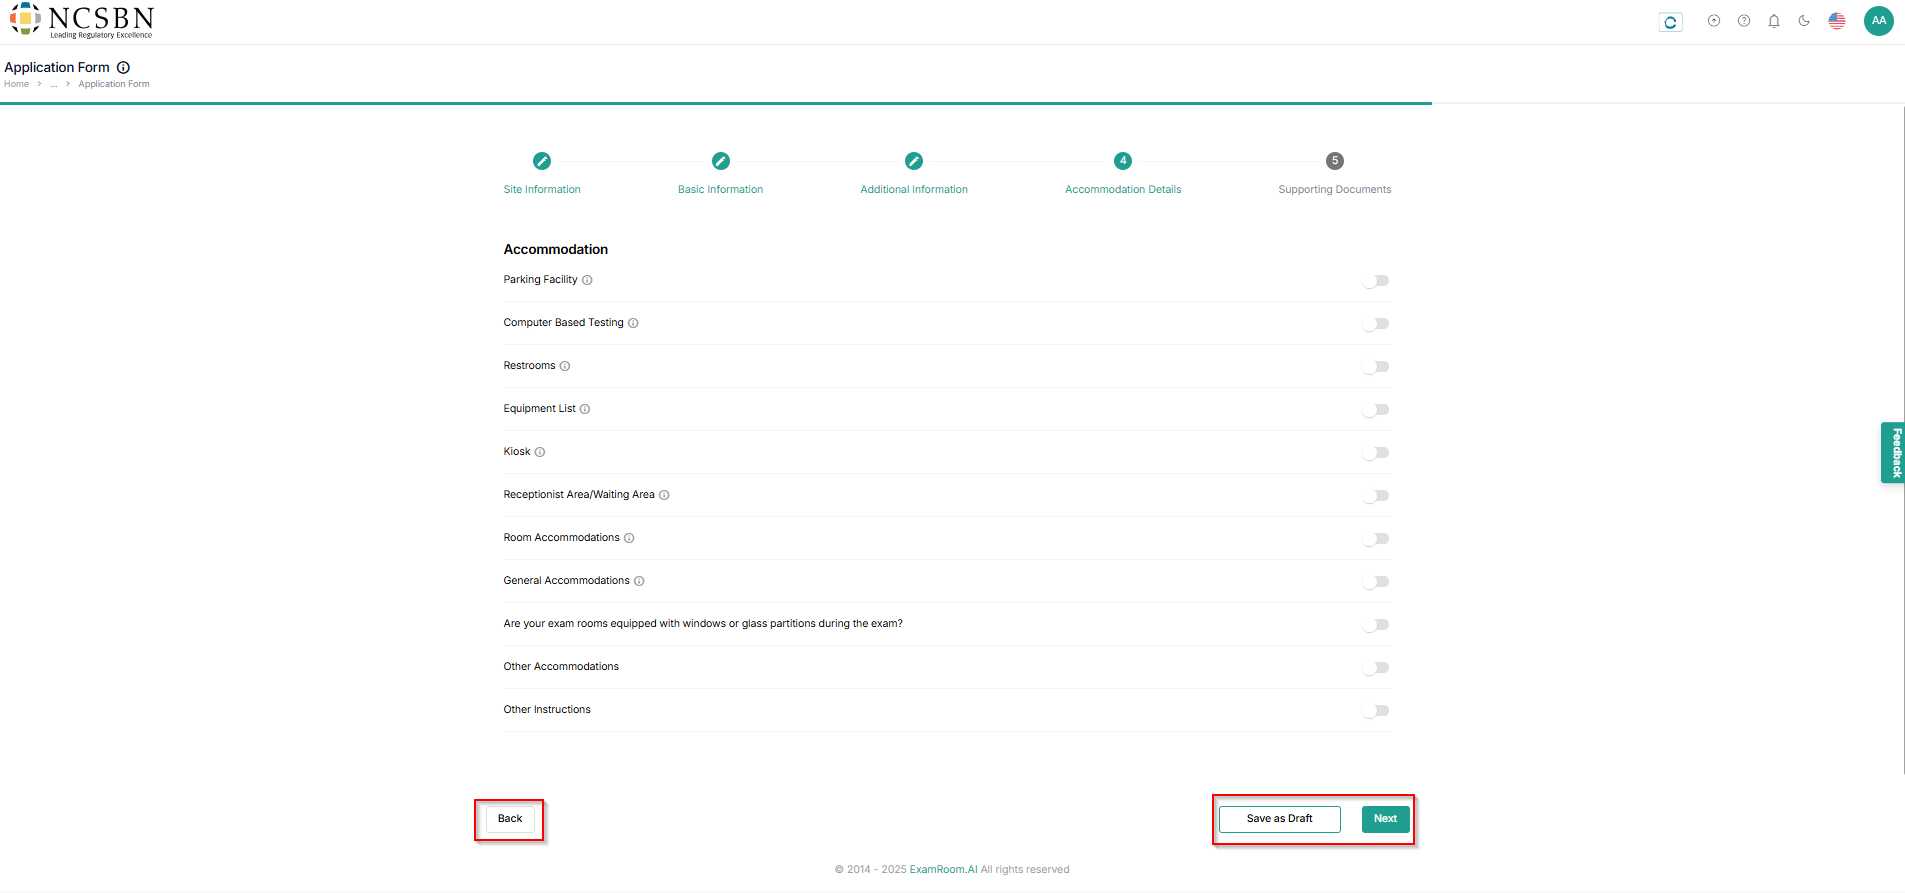
Accommodation Details
- Under accommodations, toggle the available accommodation and enter the mandatory details.
- After filling in all the details, click Next to proceed to supporting documents, Save as Draft to save the details, and Back to go back to additional information.
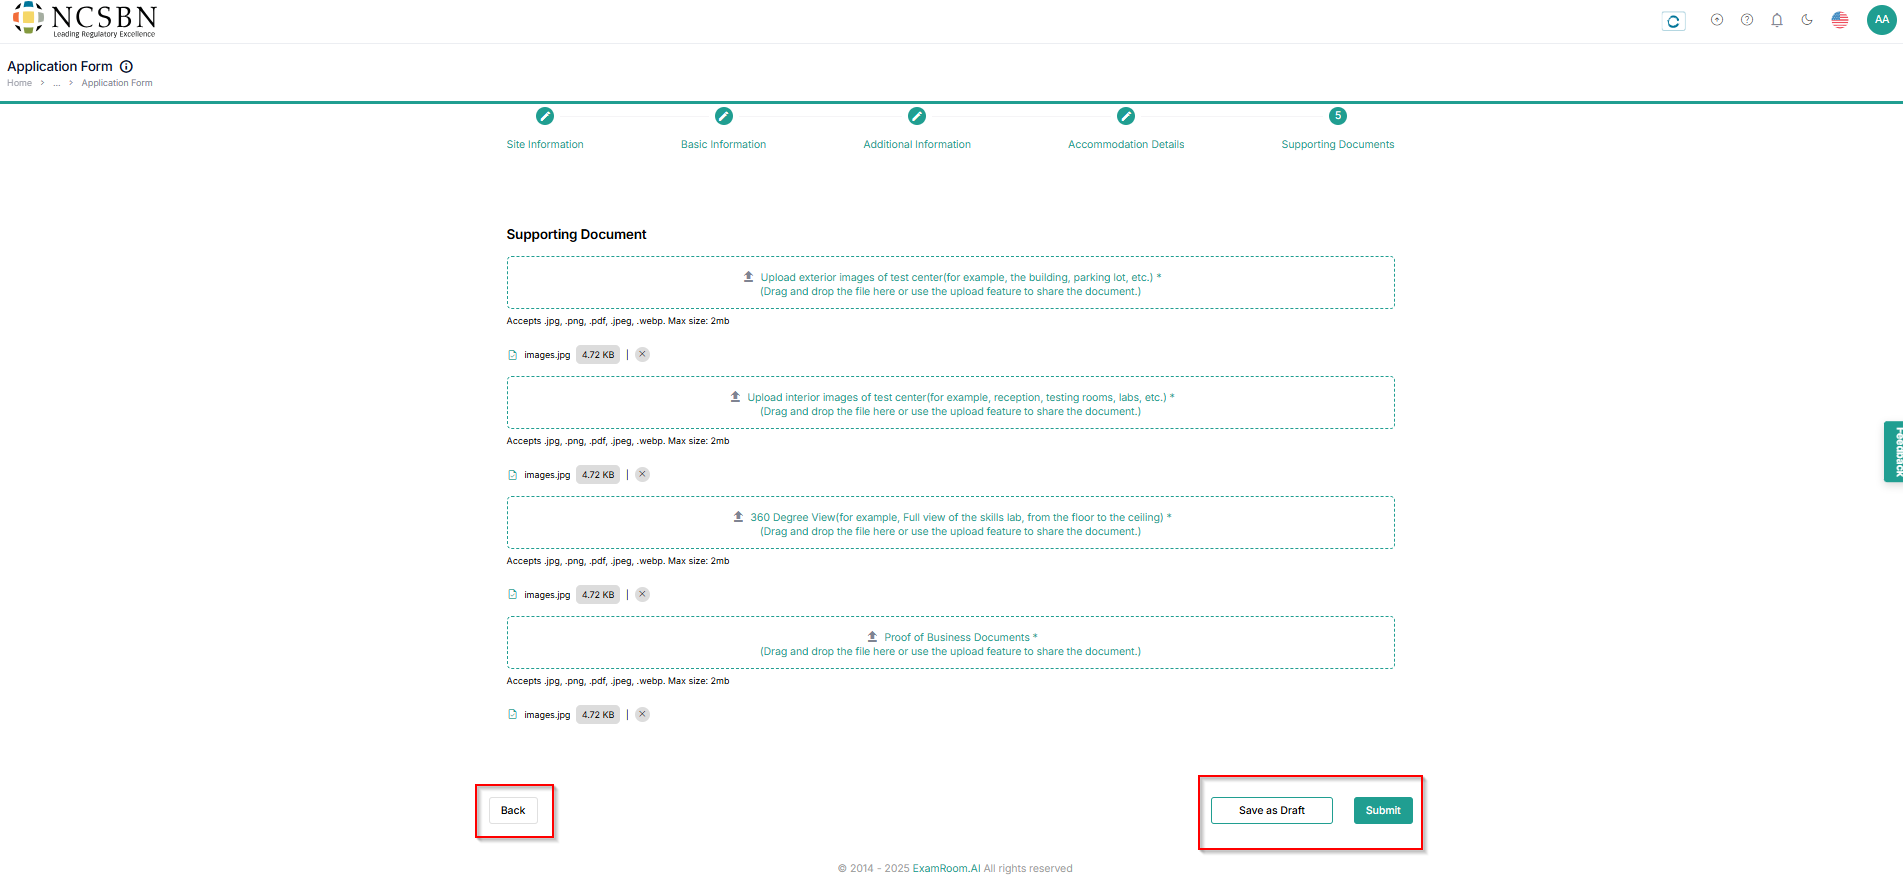
Supporting Documents
- In the Supporting Documents, Upload all the mandatory fields like Exterior Images, Interior Images, 360 Degree View, and Business Proof documents of the test center.
Note:- Max document size shouldn’t exceed more than 2MB and the only accepted file types are .PNG, .JPG, .PDF, .JPEG, and .WEBP.
- Click Submit to preview the application form, Save as Draft to save the details, and Back to return to the previous step.
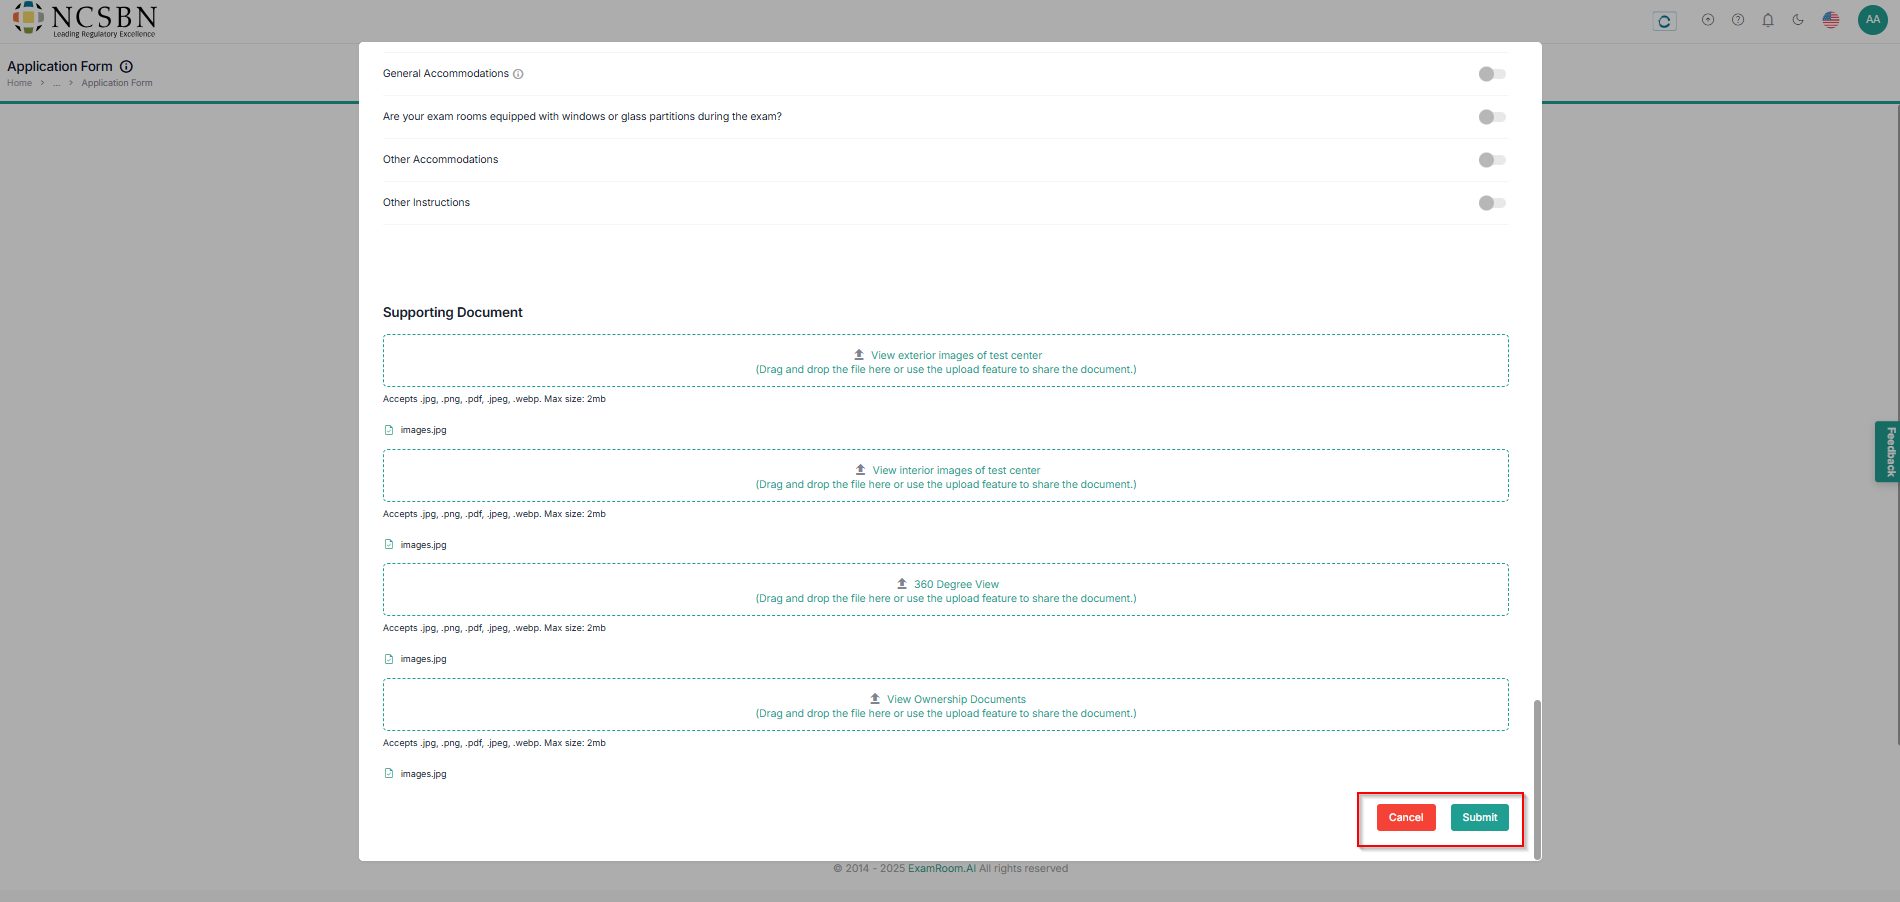
- In the application preview, verify all the details and update if necessary, and click Submit to submit the application and Cancel to close the preview.
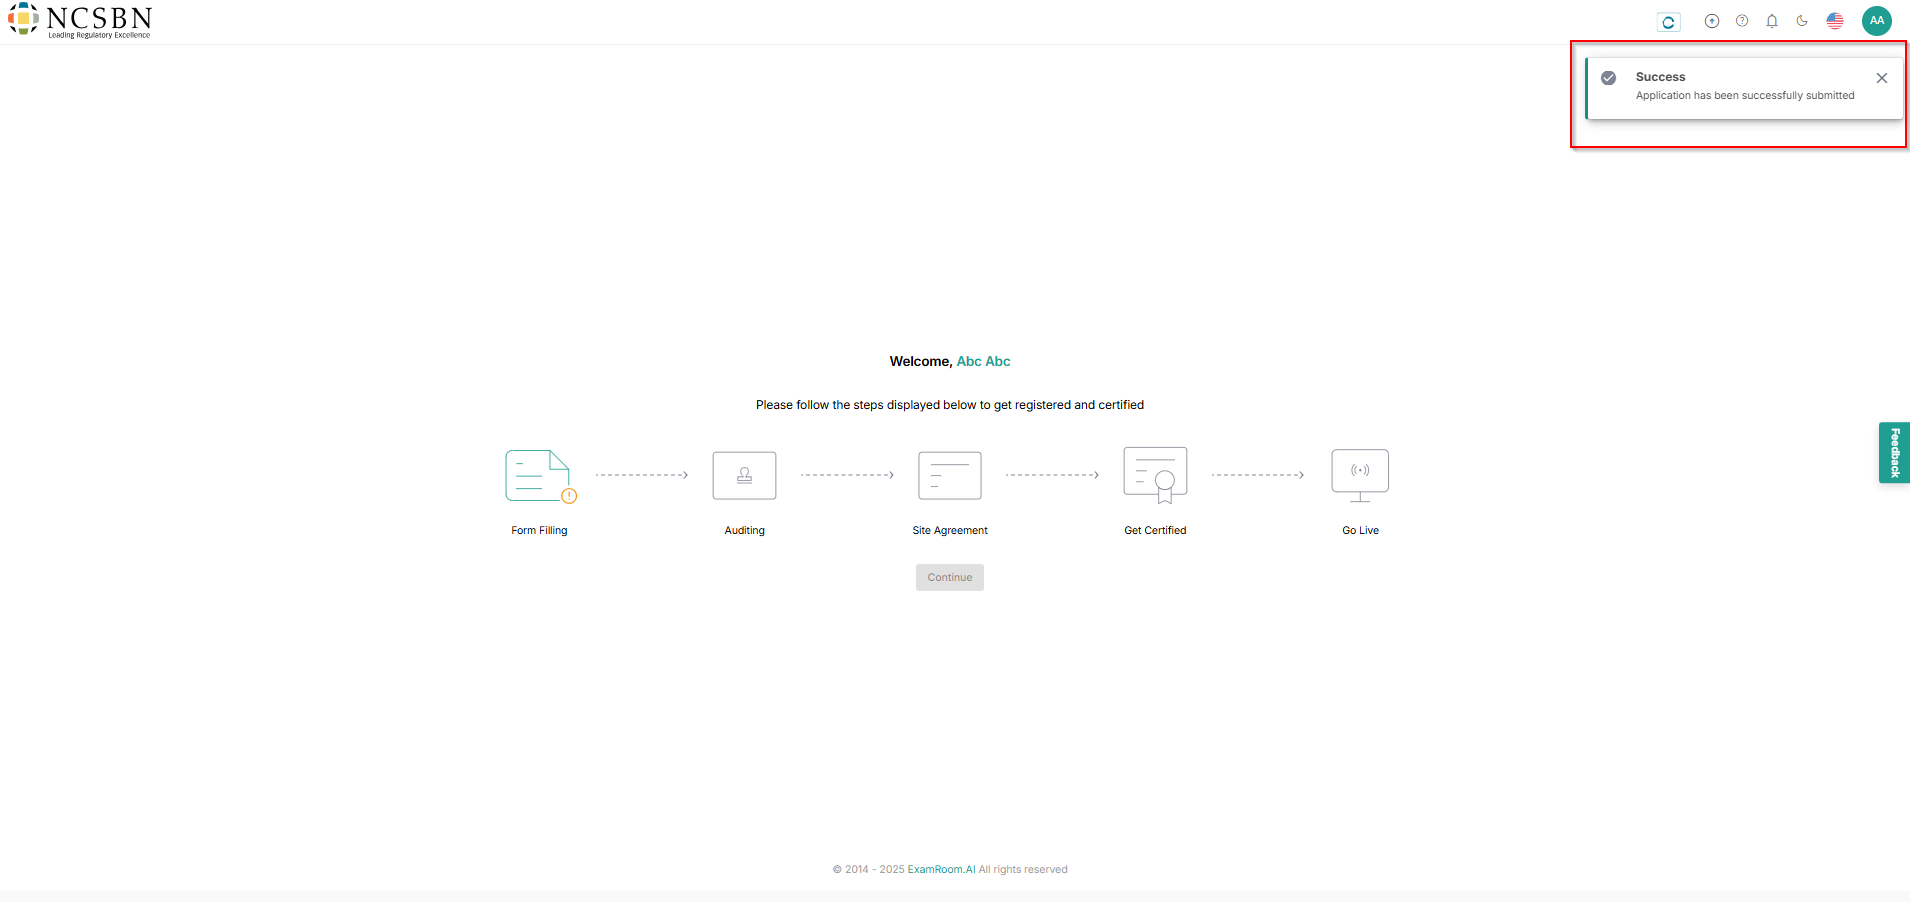
- After submission, you will receive a toaster message stating that the Application has been successfully submitted and sent for review.
- Operations Staff team will review the application form and act (approve, reject, and request change) accordingly.
- If the application is approved, the audit process will be started.
- Click Continue to start the Auditing.